
This post will talk through how to change the menus used on your site, these include navigation, footer and social menus.
Before you begin please read the following –
- This post is written for brands on Keystone Standard and Keystone Premium
- Only site admins will be able to carry out the steps in this post, please see this post for info about user levels
- Please post in #keystone-help if you require any assistance
Intro
The menus you can change with the steps in this post are as follows –
- Navigation which sits across the top of all pages on your site
- Trending bar – only currently enabled on Trusted Reviews and only available to Keystone Premium
- Footer menus – the list of links in your footer (location managed by widget set)
- Social icons – the icons in your footer and header (location managed by widget set)
This post will talk through the method for changing a menu through Appearance > Menus, and uses screenshots from this method, however you can also change the menu structure through the Appearance > Customizer > Menus which gives you a real-time view of your changes, both methods work much in the same way they’re just visually different.
Changing the social buttons that sit under the author name is done in a different way and can be accessed through the Appearance > Customizer > Social. Here you can make them different for Desktop and Mobile, so you can show WhatsApp on mobile but not desktop.
NOTE – if you’re making significant changes you can build a new menu from scratch and then switch over to the new menu once it’s complete. You change this from Manage Locations on the menu edit page. Footer menus and the social icons used in the footer are also controlled in the below way but inserted using the widget set. If you’re editing the current menu then you won’t need to do anything with the widgets, only wait for the cache to clear. However, if you’re adding a new menu you wish to display in your footer, you will need to make the changes in this way but then also go into the widget set and change which menu is being pulled.
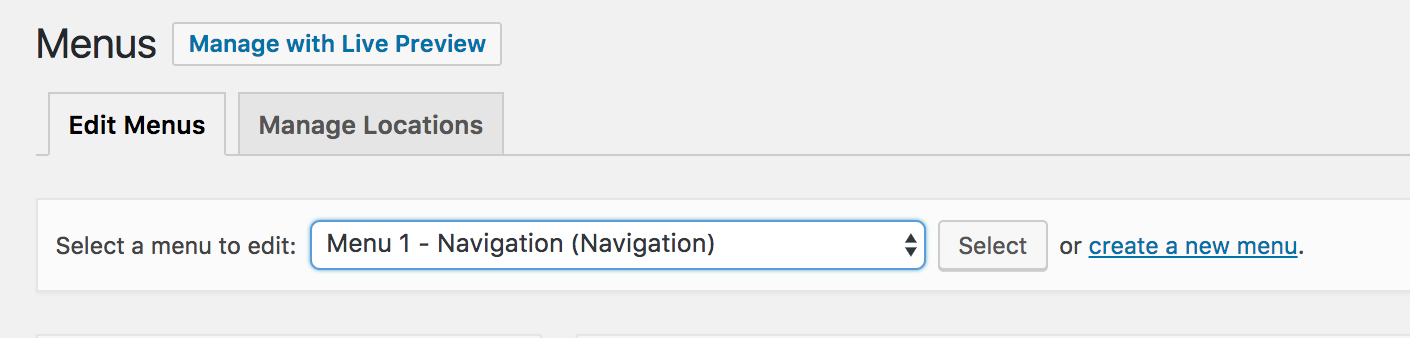
1 – Go to Appearance > Menus

2 – Find the menu you want to edit from the drop-down
Hit Select
NOTE – it’s likely that your main navigation menu will be named differently from below, as the menu names can be changed
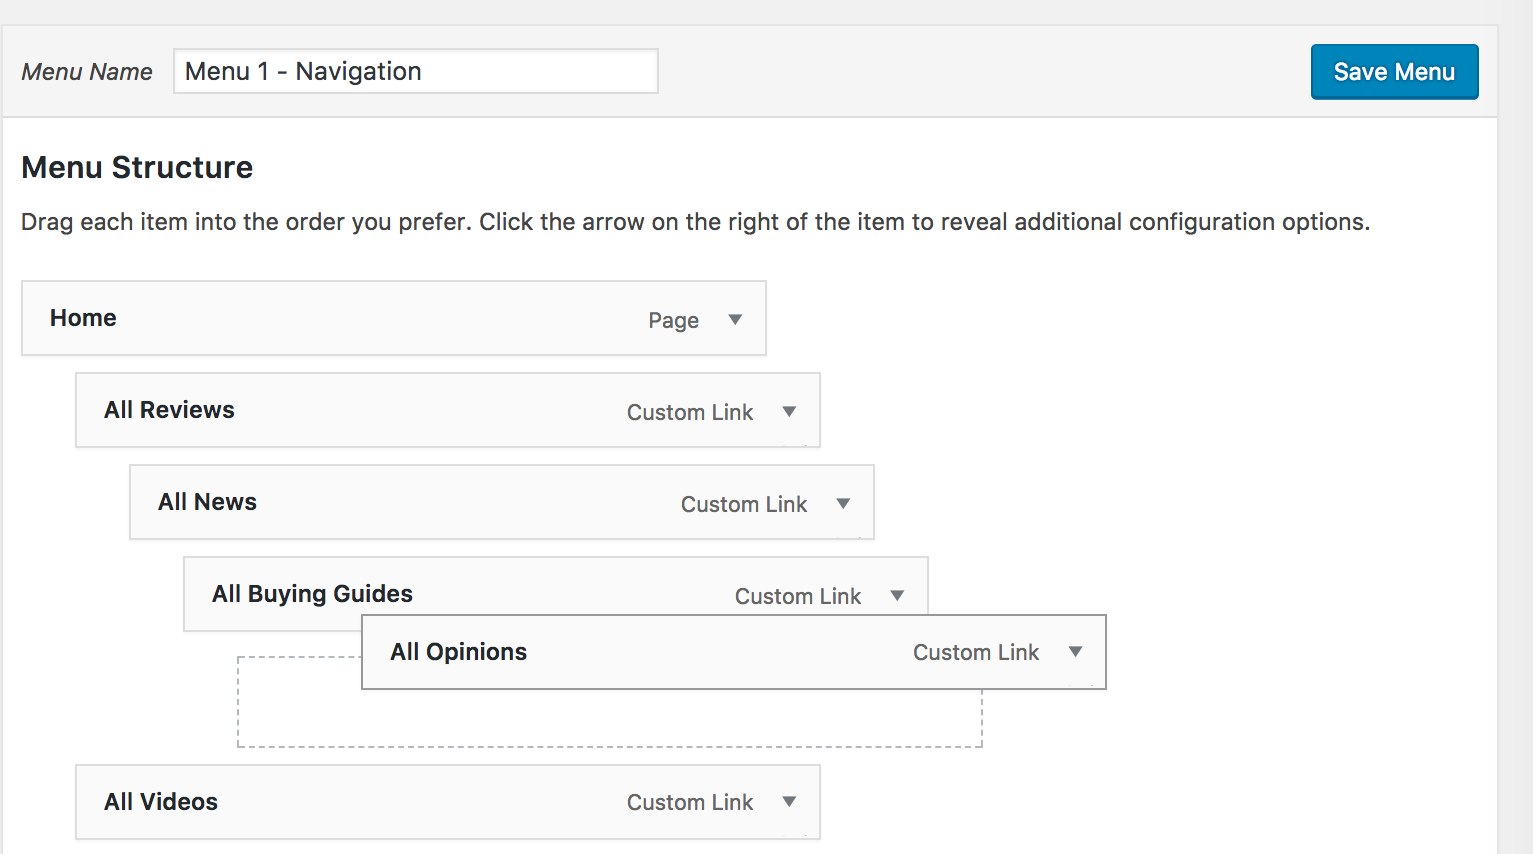
3 – Changing the order of the items already there,
This is really simple to do, just drag and drop the items in the order you’d want to see them on the front end.
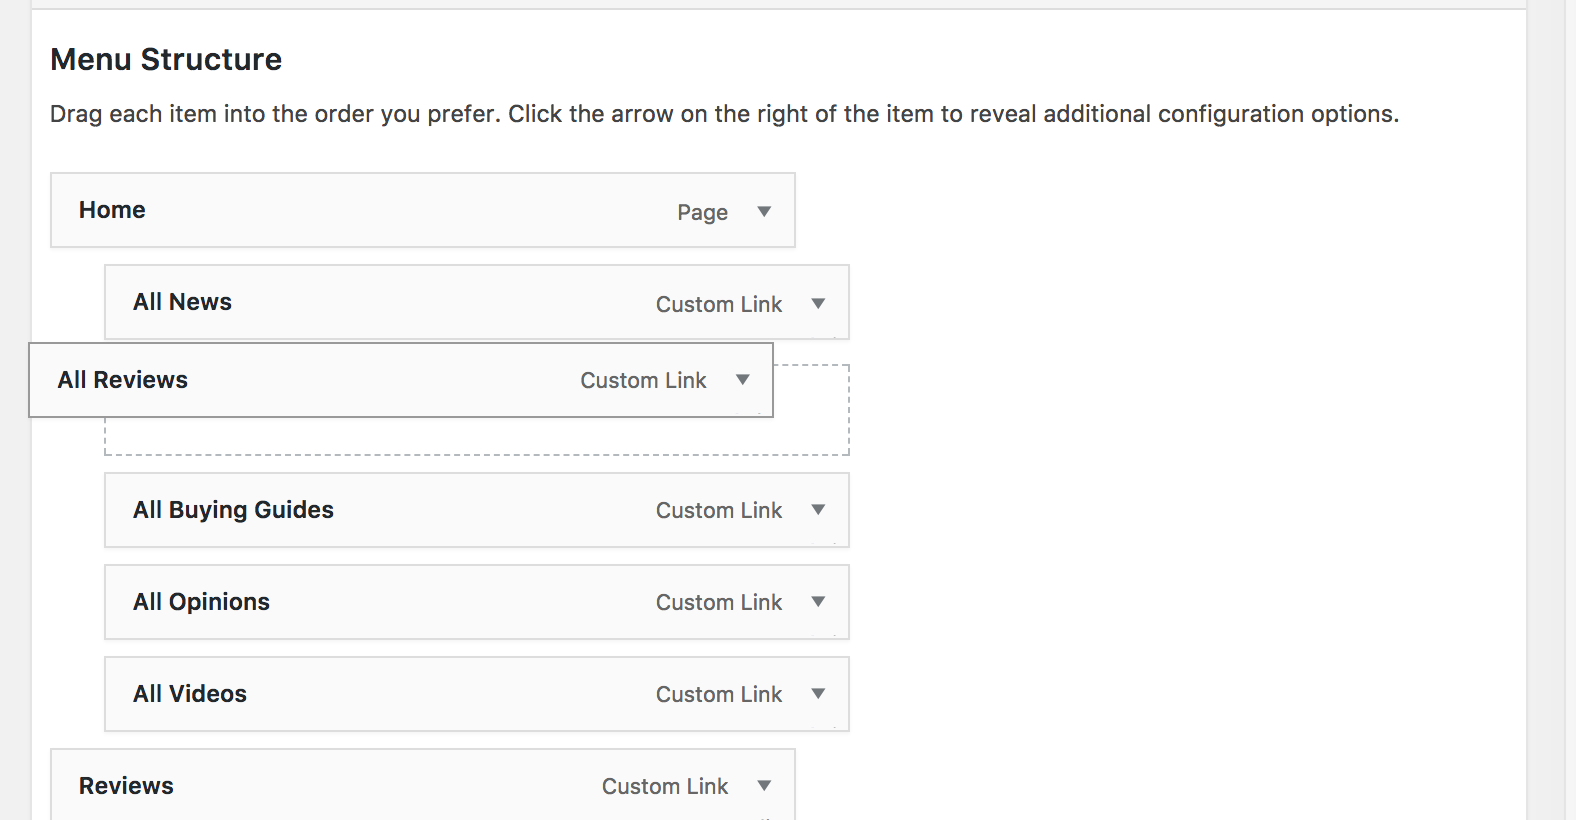
4 – Menu drop down hierarchies
You can nest item under item under item, but beware that there are restrictions on the front end, so even if you set up 5 levels of hierarchy, it’s possible that only one or two levels will show. This will require testing on your part to find out how your brand has been set up.
5 – Adding new items to the menu
You can view the lists by Most Recent, View All or Search. Once you’ve found the bits you want to add to your menu, check the box(es) and then Add to Menu, this will slot them in at the bottom of the menu list, you’ll need to position the new item in the list

- Pages – goes directly to homepage or any custom page
- Posts – goes directly to a specific post
- Subscriptions – goes directly to your subscription page
- Custom Links – you can put ANY URL in here, so you can link to an external site or link to somewhere not listed in any of the other drop downs. NOTE – If you’re linking internally then you only need the end bit of the URL –
http://www.trustedreviews.com/reviews/digital-cameras - Categories – goes directly to any of your category pages
If you want to link straight to a tag page, you can use the custom link
NOTE – there are additional options on some brands, depending on post types that are enabled
Final Step – Hit Save Menu
This will then change the menu wherever it shows in the frontend. It will take some time for this to clear through the layers of cache, to check the changes you’ve made have been saved you can append /?cache-bust to the end of your URL, such as www.marieclaire.co.uk/?cache-bust this will force your browser to go to the database and check for updates.
See this post for more information on cache
Last updated August 2017